If you’re a Mac user, you may be wondering how to open the Camera on your device. Luckily, it’s a pretty straightforward process.
In this article, we’ll show you how to open Camera on Mac in just a few simple steps.
Video
Why Isn’t My Mac Camera Working?
Your Mac camera may not be working for a variety of reasons. Mechanical and physical issues are among them, and they are impossible to solve with software modifications.
Your camera should be replaced if it is physically damaged. Although replacement Mac cameras are available on sites like eBay, we strongly advise against trying a DIY repair unless you are certain you know what you’re doing.
An external webcam is an excellent approach to get around the difficulty if you can’t be without your trusted Mac machine for even a few days while someone replaces the broken camera.
How to Connect Camera on Mac
When connecting a camera to a Mac computer, plug the camera’s USB connection into any available Mac USB port. Remember that, unlike USB Type-C ports, USB Type-A ports are not reversible. Thus the cable will only work in one direction. If it is difficult to insert, do not force it in; you may harm it. Instead, thoroughly inspect both the cable and the port and try again.
The camera should be recognized and ready to use as soon as you attach it. You may need to get additional drivers from the camera’s manufacturer’s website if it isn’t.
How to Turn on Camera on Mac
If you’ve been looking for a way to turn on the camera on your Mac but haven’t found anything worthwhile, the built-in iSight camera lacks a physical or software on/off switch. Apps, such as the Photo Booth app, activate the camera.
To activate the camera on a Mac, follow these steps:
Select Photo Booth from the Applications folder in Finder on your Mac. The LED next to the built-in iSight camera should turn on as soon as Photo Booth starts, indicating that the camera is active.
How to Use Facetime with a Mac Camera
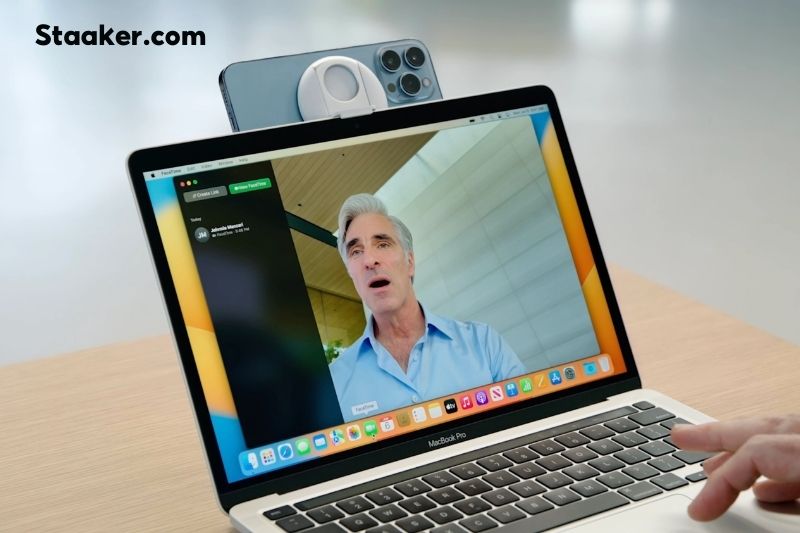
Mac cameras, as you may know, turn on automatically. However, the automatic activation process can occasionally fail, leaving you with no visible way to manually switch on the camera.
To use Facetime on your Mac, turn on the camera.
From the Applications > Utilities menu, select Terminal.
Type sudo killall VDCAssistant without the quotation marks inside the terminal window.
On your keyboard, press Enter. You could be asked for your administrator password. There will be no confirmation message if everything goes well. An error message will appear in the terminal window if an error occurs.
To ensure the patch worked, open any program that uses the camera, such as Photo Booth.
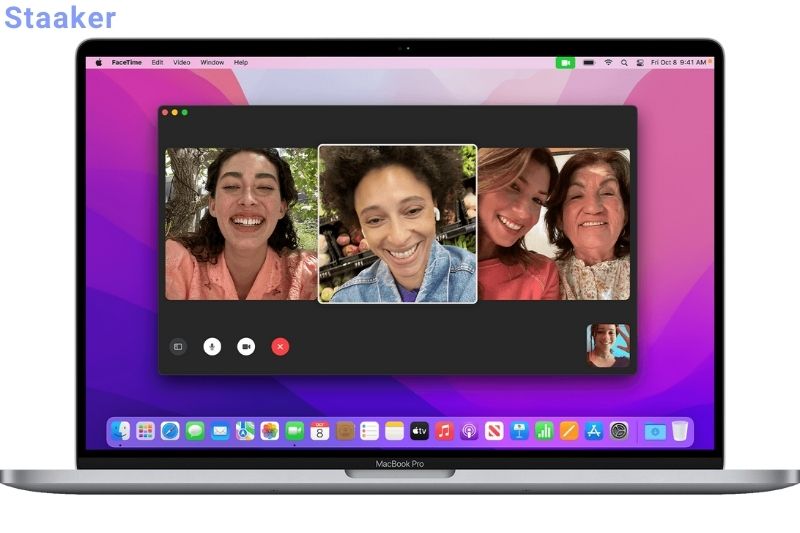
Skype Camera Not Working on Mac
If your Mac camera isn’t working during Skype calls, it’s most likely because of Skype. Make sure you have the most recent version. If Skype still doesn’t work after that, reinstall the app.
Apply the repair given in the preceding chapter if the problem persists. Restart your Mac and try Skype once more. Most issues with the iSight camera should be resolved after reinstalling Skype and applying the above workaround.
Third-party cameras, on the other hand, are a different issue. Unfortunately, some third-party cameras will not work with Skype no matter what you do. As a result, before purchasing any third-party device for your Mac, be sure it’s compatible with Mac computers.
Mac Camera Settings
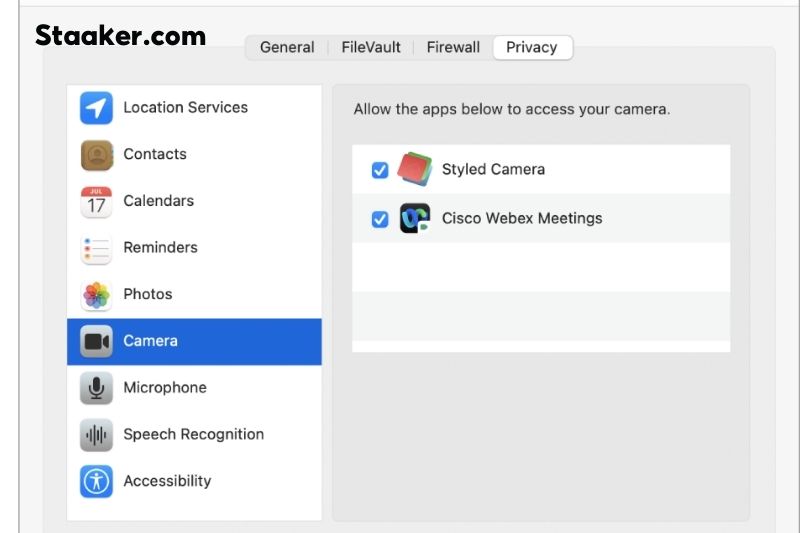
A camera settings app is not included with macOS. Most webcam apps have their configuration options, which is probably why Apple doesn’t include native camera settings in macOS.
However, several third-party camera settings apps give you access to brightness, contrast, saturation, white balance, and exposure duration. One such program is Webcam Settings.
Mac Camera Not Working: iSight Firmware Update
Firmware, a permanent software program that supplies the necessary instructions for how the device connects with computer hardware, controls the iSight camera within your Mac computer.
The firmware that controls the iSight camera should update without your intervention, but you can manually upgrade it by downloading the iSight Updater.
This simple tool will verify that you have the most recent iSight firmware, which is especially essential if you have an ancient Mac machine that isn’t always connected to the Internet.
Mac Camera Video Recovery
If you lose or erase video recordings produced with your Mac camera, data recovery tools like Disk Drill can help you recover them. Download and run Disk Drill, choose the storage device where the recordings were initially stored, then click the Recover button.
Tips for Using Your Mac’s iSight Camera
A camera is built into Apple’s iMac, MacBook, MacBook Air, and MacBook Pro computer displays. The iSight camera is a device with a small green indicator light to its right that turns on when the camera is turned on. You can only utilize the iSight camera if you open an app that supports it. Put another way; you can’t simply turn the iSight camera on or off.
The iSight camera is simple to use, but here are a few pointers to improve your photo or video experience:
Minimize the app to access other apps while maintaining access to the iSight camera. Use the yellow minimize button in the top left corner to temporarily tuck an app away without shutting it or turning off the camera.
When you close the app, look for the green indicator light to switch off the iSight camera. You haven’t correctly exited the app, and the iSight camera is still on if the green indicator light is still on. The app might be minimized in the Dock or hidden behind other windows on the desktop.
Notify you when apps are using your iSight camera with another app. Download Oversight, for example, to see when your iSight camera and microphone are active and which apps are using them. Oversight is compatible with any Mac running OS X 10.10 or later.
iSight-supported programs should be kept in the Dock for convenient access. Instead of opening an iSight software from your Applications folder, drag it to your Dock and pick it up. Right-click the program icon in the Dock, move your cursor over Options and select Keep in Dock from the menu.
Reasons to Use the Camera on Your MacBook Pro
You may use the camera on your MacBook Pro for various purposes.
It’s not used in the same manner as a regular camera on your phone or another device. Wouldn’t it be amusing if you helped set up your computer for a family photo?!
It might work for this. However, most people use their computer’s built-in camera for purposes other than snapping images.
1. Video Chats and Calls
Video calls and chats are among the most prevalent uses for the built-in camera on your MacBook Pro.
Facetime and Skype, for example, use the camera to record your image in real-time and present it to the person you’re contacting. Because your laptop’s camera is placed above your screen, you can easily adjust the angle to center it on your face or body during these calls. For these calls and discussions, these cameras are ideal.
2. Photo Booth
Although utilizing your laptop as a camera is not typical, it doesn’t imply it can’t be done.
You can quickly shoot entertaining and creative images from your computer with the Photo Booth program on your MacBook Pro. The app works like an old-school photo booth, where you press a button, wait for a countdown, and then capture a photo or two. Photo Booth is a lot of fun, and I’ve had a lot of chuckles while using it.
3. Live Broadcasts
Live streaming is another thing you can do with your built-in camera.
If you have a YouTube channel, are currently a video blogger, or are interested in learning how to do so, you may easily live stream any talking or instructive content utilizing the camera on your computer.
Using the camera on your MacBook is a simple method to learn the basics of live-streaming and video blogging, and many people do so.
FAQs
How to take a picture on a mac with camera?
You can easily take a picture with your Mac’s built-in camera, whether you are looking for a new profile photo or a way to send a family photograph to long-distance relatives. Here’s how.
- Open the Photo Booth App (found in the Applications folder).
- Once you are ready, click on the red camera button, and the countdown will begin for your photo.
- When Photo Booth captures an image, the screen will flash white.
- To save or share the image, click the thumbnail.
Why is the camera on my MacBook Pro so grainy?
Make sure your camera isn’t dirty or covered in fingerprints. A sharper video requires good lighting and location. Confirm your camera’s DPI; if it’s less than 1080p, it won’t be able to capture a clearer image.

On my MacBook Pro, how can I change the camera settings?
There are no built-in apps for changing the settings. Go to the Apple menu > System Preferences > Security & Privacy > Privacy > Camera > enable or deny camera access for specific apps to adjust your privacy settings. Use the app Webcam Settings, which can be downloaded from the App Store, to adjust brightness and contrast.
Related post:
- How To Make Your Camera Quality Better: Top Full Instruction 2022
- Why Is My Back Camera Not Working: Top Full Guide 2022
- How To Get Grid On Iphone Camera: Top Full Guide 2022
Conclusion
In this article, we have shown you how to open the Camera on a Mac. Overall, it’s a reasonably straightforward process, and we hope that our tips have helped you get started.
If you have any questions or comments, feel free to leave them below, and Staaker.com will be happy to help.

