If you’re looking to add more structure and organization to your iPhone camera shots, you’ll want to learn how to get a grid on your iPhone camera.
By turning on the grid feature, you’ll see a series of evenly spaced lines running horizontally and vertically across your camera screen. This can help you frame your shots better and ensure that they are level and symmetrical.
This guide will show you how to get grid on iPhone camera.
Video
What Is the iPhone Camera Grid?
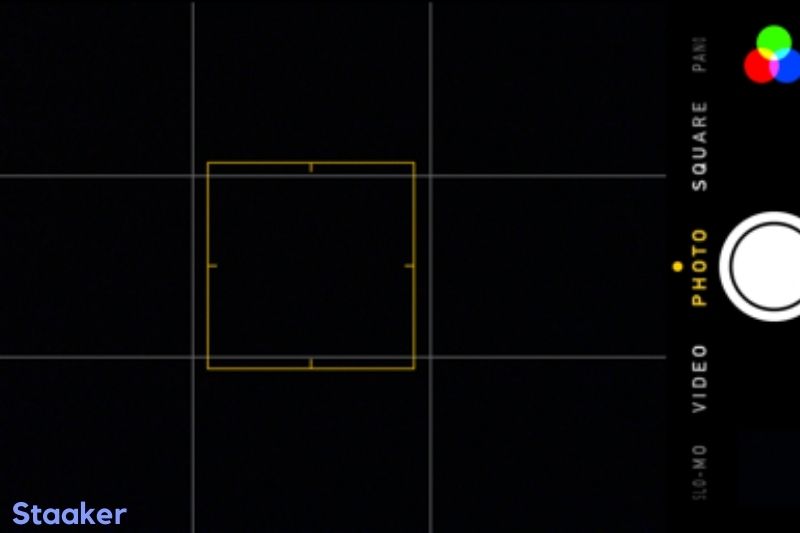
The camera grid is a feature that splits the frame of your images into four horizontal and vertical lines that run across the screen.
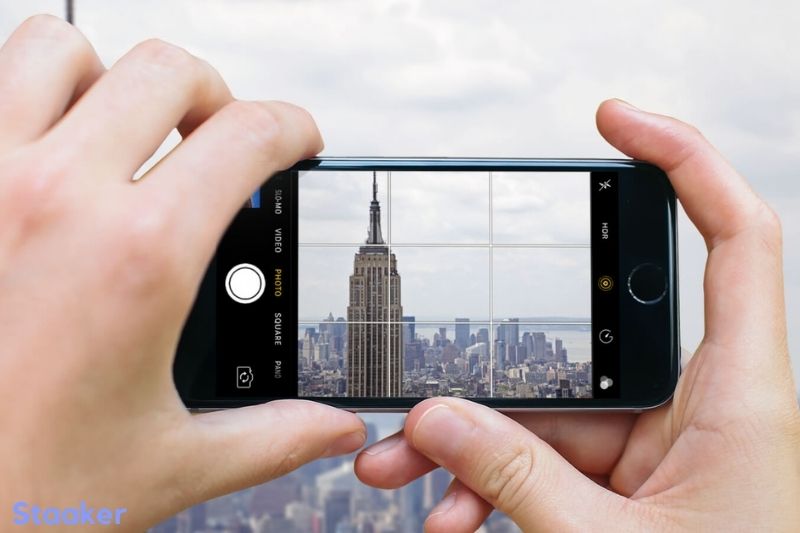
When turned on, it overlays 9 squares across the screen. It appears to be an empty tic tac toe grid, but there’s much more to it.
Adding things to the intersections of those lines can make your images much more aesthetically appealing.
Benefits of the iPhone Camera Grid
The iPhone camera grid can improve your images significantly. The following are the main reasons why you should use it.
It’s Based on a Professional Technique
The rule of thirds is the foundation of the camera grid.
Professional photographers are familiar with this method, which has been employed in art since the 18th century.
The rule of thirds is second nature to most photographers and painters. It’s not immediately apparent to novice iPhone photographers. The camera grid comes in handy in this situation.
Anyone can snap professional-looking images with the camera grid.
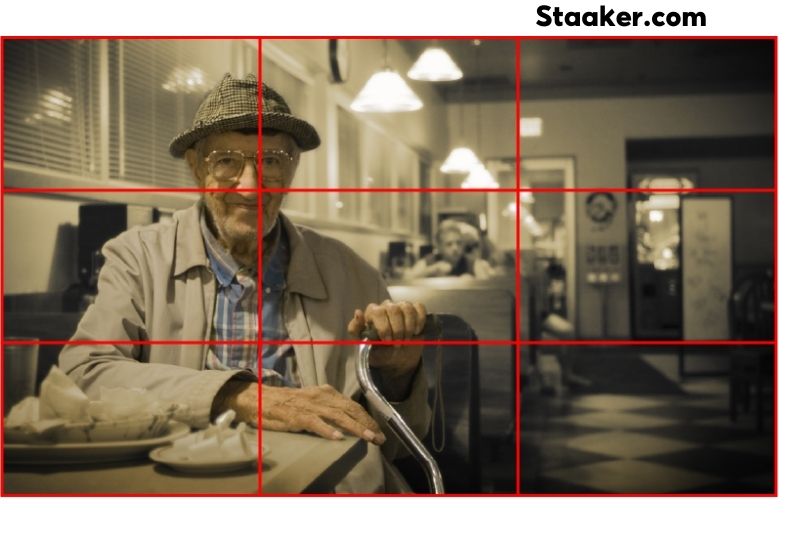
The rule of thirds is splitting your shot into thirds using a 3 x 3 square grid and aligning your subjects with the lines on that grid.
As a result, your images will be considerably more appealing. You’re all set once you add an excellent iPhone filter. It is that simple.
It Improves the Quality of Your Photographs
You can use the camera grid to level your images by aligning things to the straight lines on your screen.
See if Shutterfly is now giving free 16×20 prints.
You can avoid having skewed, uneven images by aligning everything precisely. This eliminates the need to rotate or angle photos during editing.
The camera grid might help you take better landscape photos.
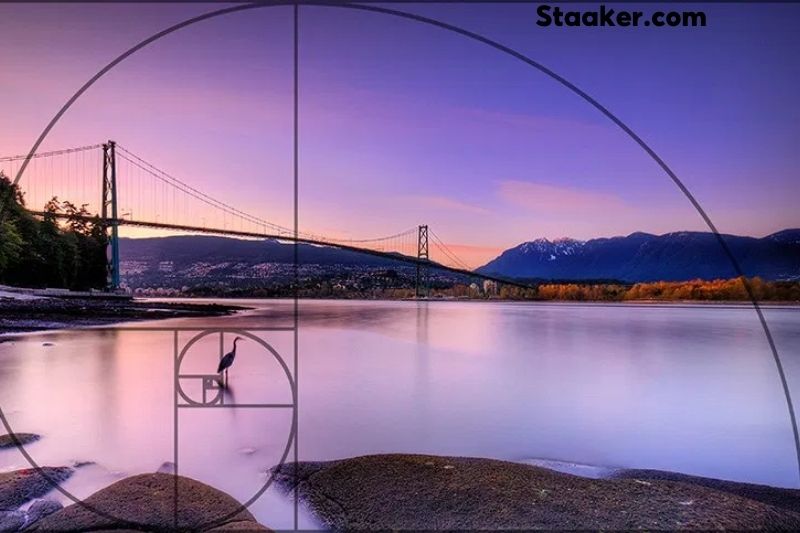
The camera grid is convenient for landscape photographs since it shows you were to frame the horizon for the best picture.
It isn’t exciting to put the horizon in the center of the frame. That’s something that everybody can do.
Objects of interest in the foreground can be matched to the lines to ensure that they enhance your photo and lead attention to the subject.
Two-thirds of the frame should be taken up by the part of the photo that interests you the most. It’s straightforward to put it that way because of the grid.
Framing Your Subjects Is Easier
When we pull out our phones to take a picture, we usually place the topic in the center and ignore it.
Because the subject is the photograph’s focal point, it should be in the center.
That is not the case, according to experienced photographers. That strategy is not only boring and unimaginative, but it is also not the ideal way to present a subject.
Using the camera grid to align the topic with lines on opposite sides of the screen draws greater attention to them in subtle, artistic ways. You’ll get the most out of your photos this way.
Align the subject’s eyes with the grid when shooting portraits; they’re usually the most significant portion of the shot.
It Improves Photo Composition
Activating the grid draws attention to specific sections of your photographs, revealing the frame’s exact composition.
It forces you to concentrate on the full-frame instead of just the topic.
You may make a much more balanced photo and avoid utilizing a lot of negative space by arranging objects of focus along the grid lines.
As a result, the composition of the image is much richer.
It Will Increases Your Likes
With so many images on social media, you want to make sure yours stand out.
The camera grid is an excellent technique to accomplish this. You’ll be ahead of the game if you start using it immediately.
Experiment with It
Please take advantage of the camera grid, but don’t get too caught up in it. It’s there to assist you, not tell you what to do.
The rule of thirds is merely a guideline that does not need to be precisely adhered to. Subjects don’t have to be perfectly aligned with the grid; simply arranging them together could suffice.
If you don’t think it goes with your image, toss caution to the wind and do it your way.
Rule of Thirds on iPhone
Of course, there are no hard and fast rules for anything. Learning the rule of thirds can help you balance your photographs and give them a more overall sense if you’re new to photography. You might also be interested in our post on the most significant new camera accessories.
The camera grid is divided into nine equal-sized squares.
According to the rule of thirds, the essential compositional elements or themes should be located along the lines or at their intersections.
According to the criteria, the horizon line (of your photo) should also match up with the top or bottom horizontal line of the grid.
A simple camera grid movement affects the entire feeling of the photo, as you can see above. A candid shot suddenly appears professional.
The most acceptable use of the iPhone camera grid, in my opinion, is to create balance in the images we take daily. While I don’t require my photos to seem professional, utilizing the grid to apply the rule of thirds makes them instantly more appealing.
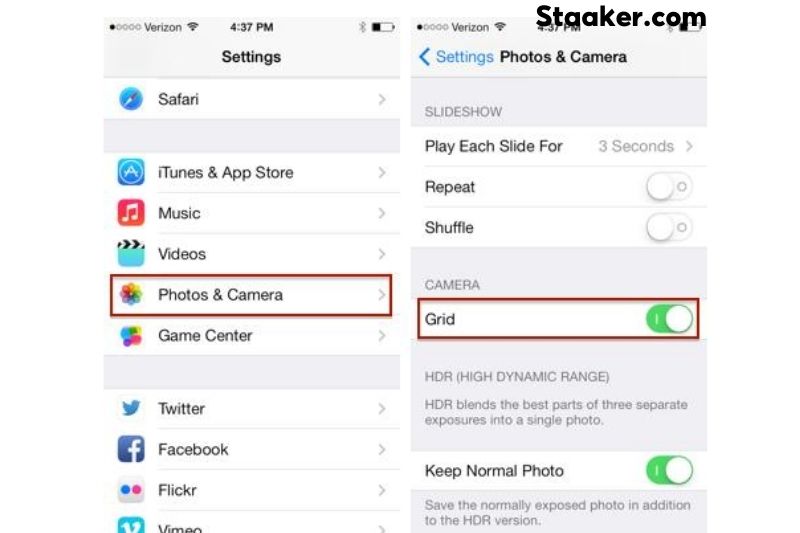
Unlike many other iPhone camera settings, adding a grid to your iPhone camera is done through settings rather than the Camera app itself.
However, if you need to, you can easily toggle the grid on and off in Settings; however, I found that once I became accustomed to seeing the faint grid across my camera, I was able to ignore it when I didn’t want to use it while having it readily available when I wanted. The grid on your iPhone camera can be turned on (or off) in the next section of our guide.
If you want to use the Iphone camera more profession, see this guide: How To Set Timer On Iphone Camera
How to Put Grid on iPhone Camera
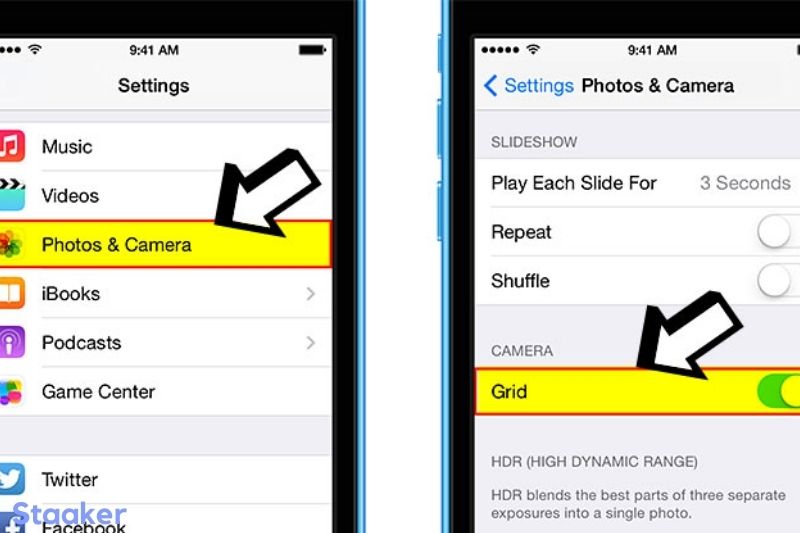
- Launch the Settings application.
- Select Photos & Camera (or just Camera if using iOS 11 or later).
- Toggle Grid on and off.
- Return to the Camera app; a faint grid will appear above the capture frame.
The rule of thirds is a relatively simple photography guideline, yet it makes a huge difference. The iPhone’s camera is getting closer to that of professional DSLRs.
While an iPhone camera can never wholly replace a professional camera, knowing a few basic photography principles like the rule of thirds will improve your everyday photographs to a level that is at least worthy of Instagram fame.
FAQs
What is an iPhone overlay?
The overlay element lets you layer components on top of photos included in a lockup element. The items of the overlay element are superimposed over an image.
Why is the picture quality on my iPhone so poor?
Low light, over-processing, or a bad camera sensor are all conditions that might generate grain. The newer iPhone models have superior sensors, which makes them appear crisper and sharper, but there are actions you can take to remove grain in your photos regardless of the iPhone model.
Is Apple getting rid of the capture outside frame feature?
Instead of capturing photos outside of the frame, they deleted the setting in iOS14 and replaced it with Deep Fusion enabled at all times. It was a fantastic feature, but it’s no longer available. (You had to choose between deep fusion and capture outside of frame.)
If you have trouble with your phone camera, maybe this guide can help: Why Is My Back Camera Not Working
Conclusion
So there you have it – how to get a grid on your iPhone camera. By following these simple steps, you’ll be able to add a little more organization and structure to your camera shots, making them look their best.
If you have any questions or comments? Feel free to leave them below, and we’ll be happy to help.


