Whether you’re an experienced photographer or a complete novice, using a Polaroid camera is a unique and rewarding experience.
In this article, we’ll show you how to use Polaroid camera, from loading the film to taking the perfect picture.
What Is A Polaroid Camera?
You’re not alone if you’ve ever been perplexed by the term polaroid camera. It’s essentially an instant camera that prints your photos as soon as you snap them.
Because the Polaroid Corporation was the first to develop and patent this technology, it is more commonly referred to as a polaroid camera.
They were the forerunners of this ground-breaking technology, which allowed individuals to instantaneously capture memorable moments and wonder at their photographic abilities within a minute of shooting the picture.
This type of camera relies on self-developing films to produce photographs so quickly. They’ve been around since 1923, and their first commercial edition was released in 1948, making them accessible to the general public. Many more brands, such as Fujifilm, Leica, and Kodak, now make sophisticated polaroid cameras.
How To Use Polaroid Camera?
Preparing and loading
1. Insert the film into the camera. To open the bottom flap of your camera, press the switch. This will expose the slot into which your film cartridge should be inserted. Close the flap after inserting the cartridge into the slot with the dark side facing up and the metal contacts facing down.
- Remove the film in a fully dark room and place the cartridge in a container that shields it from light exposure if you have an old Polaroid camera cartridge you’d like to save.
2. Hold your breath until a dark slide emerges from your camera. A dark slide should appear from your camera immediately after loading your film camera. This means the camera is in good functioning and ready to use!
- If a dark slide does not emerge from the camera, there is undoubtedly a fault with the film or the camera. You can have an issue with the camera itself if you’ve just bought a new film. To figure out what’s wrong, try a different cartridge.
- This black slide is worth saving because you can use it as a cover to preserve your images throughout their exposure time after they emerge from the camera.
3. Open or flip-up your flashbar to turn on Polaroid 600 cameras. Before using these cameras, you must first wake them up. Examine your model to see if you’ll need to open and close your flash bar or if you’ll need to flip it up. Because these cameras turn off rapidly, repeat the procedure every time you want to capture a photo.
- If you can’t see your flashbar on a Polaroid OneStep camera from the 600 series, it signifies you need to flip it up.
- There is no on/off button on the Polaroid SX-70 Land camera. These cameras are ready to use as soon as your film is loaded.
4. To fix exposure issues, play about with your exposure compensation switch. The exposure of a camera relates to the camera’s sensitivity and film to light, which is then captured in the image. Most OneStep models have a little slider that adjusts the amount of light the camera lets in. Experiment with different exposure levels and images to determine what works best for your film and camera.
- Move the switch to the darker side if you’re shooting with Impossible Project SX-70 film. Because this film is more sensitive to light, photographs will seem overexposed if the switch is left in the middle of the slider.
Taking a Photograph
1. Keep a distance of at least 4 feet (1.22 m) between you and your subject. Because OneStep cameras use fixed-focus lenses, they focus on their targets using distance or depth of field. They don’t have the requisite electronics for autofocus. Allow enough space between you and your chosen subject for the camera to get a sharp shot.
- When photographing with Polaroid cameras, you may need to experiment with distance. At a distance of roughly 10 feet, some models may generate superior photos (3.04 m). Some models may not work at distances greater than 10 feet (3.04 meters), so be patient and prepare to put your camera to the test.
- Some models may have a closeup mode that allows you to photograph subjects more minor than 4 feet (1.22 m) away from you. Unfortunately, these options aren’t always practical. Ignore them and stick to the 4-foot rule (1.22-m).
2. To frame your shot, use the viewfinder. Unlike other current cameras, the viewfinder does not allow you to look through the lens. Give yourself plenty of area on each side of your chosen subject while framing your photo because the viewfinder doesn’t show a precise duplicate of what the image will be.
3. To take a picture, depress the trigger. Taking a picture with a Polaroid OneStep is as simple as getting it once you’re ready to start. There are no modifications required. Depress your button, take the photo, and prepare to admire your work.
4. To avoid harm to your photos, keep them away from the light. Keep your photos from being exposed to light when they come out of your camera. You can either put them in a pocket or a light-resistant container right away or cover them with a piece of paper. This will ensure that the development-related chemical process runs smoothly.
5. Before seeing your images:
- Wait at least 10 minutes and 30 minutes.
- Keep your images face down or hidden from light during the whole development process. While some vintage Polaroid film can be developed in 90 seconds, it’s safest to wait.
- Be especially cautious if you’re using the latest film from the Impossible Project.
- After a half-hour, you’d rather have a nicely developed image than a dud after five minutes. [10]
- Wait 10 minutes for black-and-white film and 30 minutes for color film, according to The Impossible Project.
Enhancing Your Photographs
1. For the most outstanding results, shoot outside. Lots of natural light works excellent with Polaroid cameras. Outdoor photographs taken on sunny or slightly overcast days work best. When you’re first starting, focus on landscape photography. This will help you become more at ease with your camera.
2. When shooting Impossible films, avoid shooting in high heat or cold. Temperatures between 55°F (13°C) to 82°F (28°C) are ideal for this new film.
- Cold weather might result in overexposed images with little color contrast, while hot weather can result in photos with a red or yellow hue.
- Heat the film in a pocket and use your body heat to shoot at greater or lower temperatures, or cool it down by placing it in the refrigerator before taking your shots.
3. For interior photography, use Polaroid 600-series cameras. SX-70 film isn’t light-sensitive enough to generate good interior images. Because Polaroid cameras require so much light to produce good images, choosing a more light-sensitive film is critical.
4. Indoors, use the flash to supplement any natural light sources. Make use of your camera’s built-in flash. While the flash may provide harsh lighting in some of your photos, it’s crucial to start with the flash to learn how you can lighten up your interior photos the best.
- If possible, shoot in a space with many windows so you can get some natural light even when you’re indoors.
5. To cover your flashbar, cut out a paper and tape it over it. Because the flash on most older Polaroid cameras is meant to be on all of the time, it’s often difficult or impossible to turn it off manually. To examine how turning off the flash affects your images, cover the bulb with a small piece of dark-colored paper and some tape.
6. To brighten your subject, use external light sources. If you’re shooting at night, on a dark day, or indoors, you’ll need to add light to your subject. LED strobe lights focused on your topic are a good option. Start by aiming a flashlight at your subject for a simpler alternative.
Selecting a Camera
1. Choose Polaroid 600 OneStep cameras if you want a low-cost, reliable camera. Fixed-focus lenses come standard on OneStep cameras, allowing you to point and shoot. In the 1980s and 1990s, Polaroid made a lot of these cameras, and they’re still popular since they’re easy to find and much easier to use.
- The Impossible Project provides repaired Polaroid 600 OneStep cameras for sale online. This will provide you with a camera that has been thoroughly inspected and tested by a team of repair specialists.
- Look online or at garage sales for less expensive but perhaps defective cameras. Because Polaroid made so many of these cameras, they can be found in various conditions. Be cautious that this could result in a piece of equipment being broken.
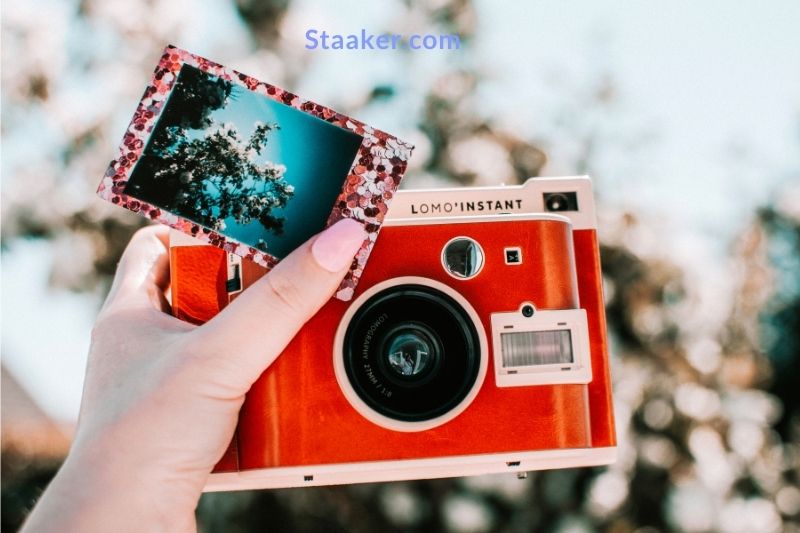
- Many people are now purchasing Fujifilm Instax cameras, a sort of instant camera that Polaroid does not make. These newest choices are straightforward to use and provide long-lasting immediate prints. They’ll need their own Fuji Instax film compatible with a wide range of cameras in various sizes and colors.
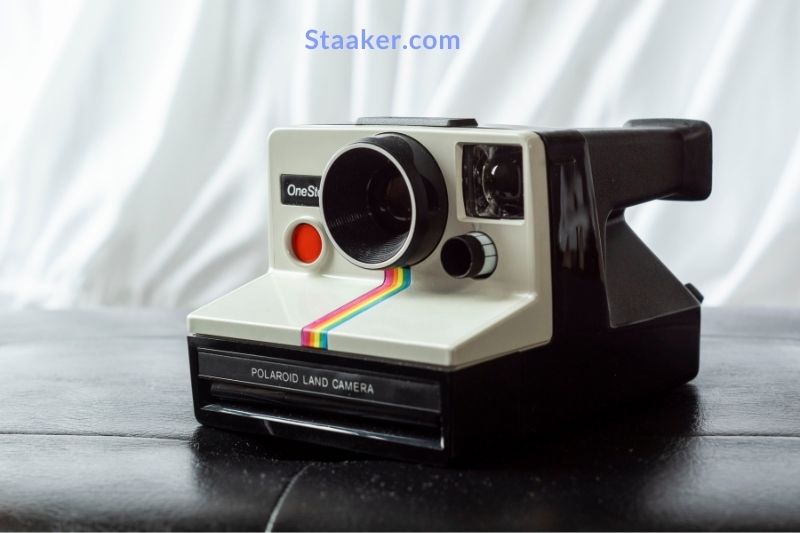
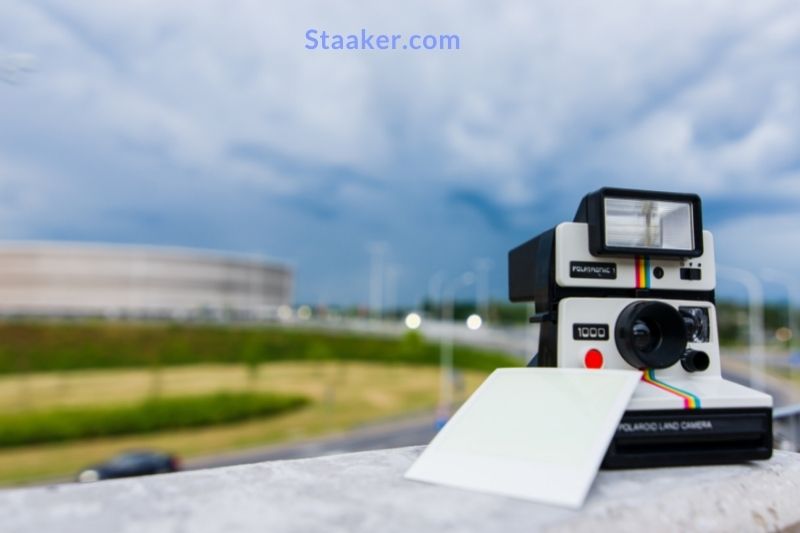
2. For a vintage look, go with the Polaroid SX-70 OneStep Land camera. These legendary cameras can only be purchased secondhand on sites like eBay. The camera has a traditional Polaroid aesthetic with its white body and rainbow label. They don’t have a built-in flash. Thus they’re a little more challenging to maintain than 600-series cameras.
The flashbar must be attached to the top of the camera. When you buy the camera, it should come with an optional flashbar.
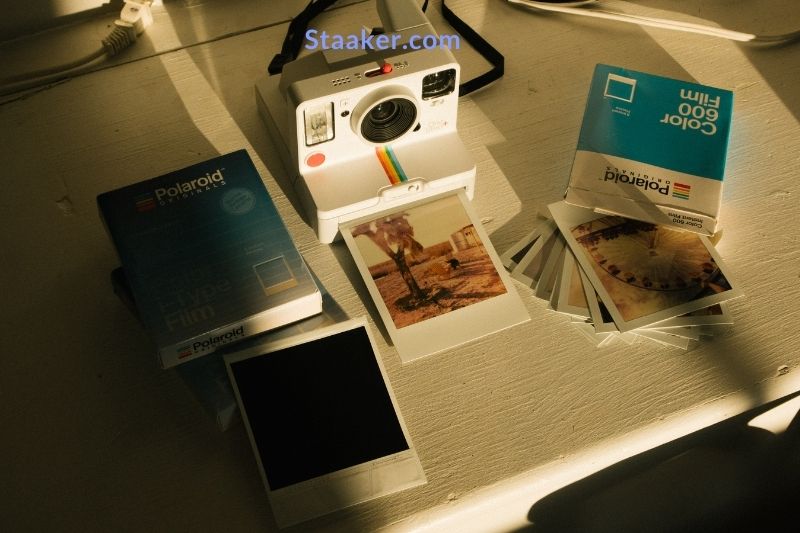
3. The Impossible Project sells new Polaroid film. The new film from The Impossible Project is compatible with all Polaroid cameras. This more recent film is a safer bet than purchasing a used film from the internet. Longer exposure times are required for The Impossible Project’s film, and it is frequently more expensive than used film cartridges.
- Make sure you’re getting the correct film for your camera. SX-70 cameras use SX-70 film, while 600-series cameras require 600-type film.
- If you apply a Neutral Density filter on your film cartridges, you can use 600-type film with your SX-70 camera. These filters must be purchased separately from your film. They’re on the Impossible Project’s website.
4. Look for outdated Polaroid film on eBay for a less expensive but less reliable solution. Used film cartridges, such as those for Polaroid cameras, are available online.
While this purchase may result in low-cost, high-quality film, it is also possible that you could obtain dead film that will not create images. If cost is a concern, start with used options and only employ the Impossible Project’s items if necessary.
- The film cartridges serve as the batteries for Polaroid OneStep cameras; therefore, if the film fails, the camera will.
Special Tips- How To Use Polaroid Camera At Night
Now that you’ve mastered the fundamentals of shooting a good photo with a polaroid camera learn how to utilize it at night!
A steady camera
To acquire a good shot at night, you must keep the camera steady. Using a tripod with the camera’s mount socket is one technique to ensure it is sturdy.
If your model doesn’t have it, you’ll have to develop a different technique to set up the tripod. Place it on a flat solid surface with a side structure to support it.
Holding Pose
At night, moving things make for poor photography. The same is true for those depicted in the illustration. As a result, if you’ve come up with a mesmerizing position for a beautiful night photo, you’ll need to hold it for a while so the camera can capture it adequately. Otherwise, the outcome may be hazy.
The Correct Lighting
The flash comes in handy when photographing with a polaroid camera in low light. Placing a small piece of white electrical tape on this flash can help to improve the illumination even further.
This will prevent harsh light from striking your subject, resulting in a more refined soft illumination.
While this technique and the flash perform well in low-light situations, their utility in a well-lit environment is disputed. If you’re taking a photo in a bright environment, the flash will only worsen. To acquire the correct amount of light, switch your camera to the outside settings.
Position yourself
You should be at least 55cm (1.8ft) away from your subject.
Aim at your subject
A viewfinder is situated on the left side of the lens barrel on the Polaroid Now. Align your eye with the viewfinder barrel to aim at your subject, then compose your shot using the image you see.
Remove the photo
Lift the film shield gently to let it roll back into the camera. Remove the photo and set it face down to keep it from absorbing light as it develops. It must not be shaken! The precise developing times can be found on the back of your film package.
Turn off the Polaroid Now
To switch off the Polaroid Now, press the ON | OFF button for 12 seconds.
Maybe you need to see this guide to becoming a professional photographer: How To Get Into Photography
FAQs
Do you know how to shake a Polaroid photo?
Your Polaroid Photos Shouldn’t Be Shaken.
A Polaroid’s structure is a series of chemicals and dyes sandwiched between layers; if you shake your print, you risk creating unwanted bubbles or markings between some layers, resulting in image faults.
What is the most effective method for taking Polaroids?
Keep your film out of the heat until you’re ready to shoot–we prefer to use a cooler bag with a few ice packs inside–and keep your shots face-down away from any bright light or warm rays as they develop if you’re planning a long day out in the sun.
When it comes to Polaroid photos, how long do they last?
Polaroid film is hermetically sealed in a cartridge that shields it from light exposure, ensuring that each image is removed with rich, brilliant color contrast. On the other hand, Polaroid film only lasts 12 months after it is made.
Is it true that Polaroids fade in the sun?
Fading is irreversible. Once something has shifted, it is no longer the same. ULABY: According to Freeman, ultraviolet radiation rips destroy the emulsion in instant film, the same type of light that harms human skin. So, she advises storing your Polaroids somewhere cool, dry, and dark.
What is the maximum number of photos a Polaroid camera can take?
Polaroid film today is not the same as Polaroid film in the past. We had to recreate the film using wholly new materials and a new recipe because most of the chemistry and components utilized by Polaroid are no longer available.
How do you keep Polaroids safe?
Polaroids should be protected from direct sunshine, moisture (high humidity), and temperature changes. Hold Polaroids by their corners with clean hands when handling them. Your hands’ oil and dirt can smudge or damage the photos. Allow for several weeks of drying time before storing photographs.
Video
Conclusion
Polaroid cameras are a great way to capture your memories and photos. They’re easy to use and print out physical copies of your photos. This is great for people who want a tangible copy of their photos.


