With the clear night sky as your backdrop, shooting night photography can be an enriching experience. However, it can also be challenging, as you’ll need to account for low light conditions and potentially long exposure times.
But with a bit of planning and some practice, you can capture stunning images of the night sky. In this article, Staaker will provide a few tips on how to shoot night photography.
Equipment Needed for Night Photography
Let’s speak about the equipment you’ll need before we go into camera settings for night photography. You’ll need a camera with complete manual controls. This gives you complete control over the camera’s settings.
Looking at the top of the camera and seeing whether it has a dial with the letter M (for manual) on, it is easy to see this feature. If yours has this, it will be enough for night photography.
For this picture style, a conventional zoom lens would suffice, but if you have one, an ultra-wide-angle lens will allow you to capture those big stretched-out images of bridges over lakes and the like.
Equipment needed for Night Photography
The Camera that Goes into full Manual mode
You’ll need a camera with complete manual controls. This gives you complete control over the camera’s settings.
Tripod
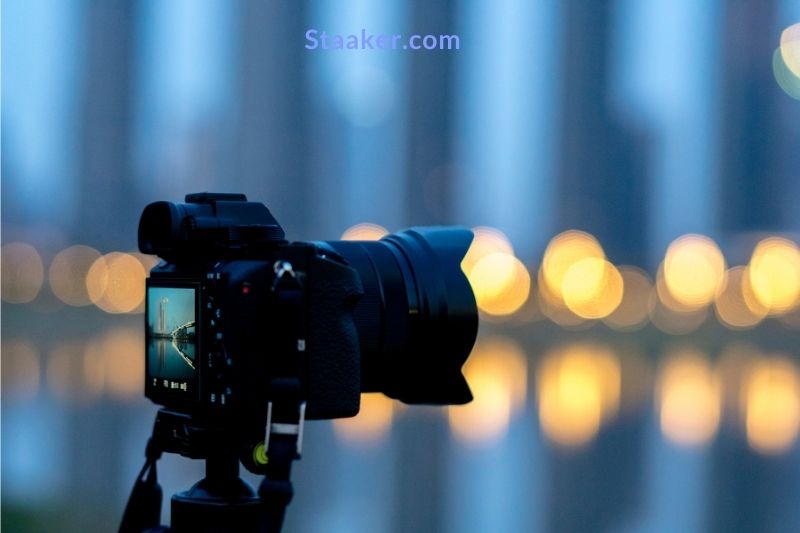
To support the weight of your camera, you’ll need a robust tripod. Because it’s dark, exposure times for shooting the night sky will be long, so keep your camera stationary. Cheap, fragile tripods can cause your camera to drift in the wind or make your setup top-heavy.
Remote cable release and trigger
You cannot touch the camera when taking images at night because this will cause the camera to wobble. You’ll need a remote trigger or a cable release to do this, which will allow you to fire the camera without touching it.
The Lens with a Wide Angle
It’s an excellent idea to utilize an ultra-wide-angle lens, even if it’s not required.
Camera Settings for Night Photography
As previously stated, you must shoot in full manual mode for this style of photography, but don’t let that deter you because it’s a simple setup. The following steps will show you how to set up your camera for night photography:
- M stands for manual mode.
- 30 to 60 seconds is the shutter speed. Because it’s dark, a longer shutter speed will allow adequate light to enter the camera. If your images are coming out too dark, raise the time; if they are too light, reduce the duration.
- f8, f11, or f16 as the aperture. This is to achieve an extended depth of field, which helps you make a sharp image from the foreground to the background. Like the shutter speed, the aperture can make your photos lighter or darker. Start at f11 and increase to f16 if the image is too light or f8 if it is too dark.
- ISO settings: 100 or 200. This is done to reduce noise. In an image, noise generates a speckly appearance with poor colors. You’ll need as little noise as possible to produce a clean, crisp, and colorful night shot.
- White Balance should be set to Auto. Many different light sources with many different colors are used in night photography. Shooting in Auto White Balance provides a reasonable middle ground that may be tweaked in post-production apps like Lightroom as needed. Another alternative is to change the white balance of the camera to Daylight. This will capture the colors exactly as they are; however, I feel that the images come out too orange.
- Focusing is done manually. Because it will be dark, it will be difficult for your camera to focus on something. To fix the focus point, focus on something lit in the distance and then set the lens to manual focus.
- Shoot in RAW format. This is an optional step. However, it is highly recommended. When it comes to post-processing, shooting in raw gives you many more options.
9 Night Photography Tips
It all comes down to being prepared and playing with your camera’s various settings when shooting at night. Here are some things to think about if you want to get the most out of your nighttime photos:
1. Make sure you know where you’re going. Because you’ll be working in the dark, scout your site and plan your shots ahead of time. Make a list of any potential hurdles or roadblocks. Is there any artificial lighting on the premises? Does the hue of the lights change? Which angle appears to be the most appealing? What are the most significant ways to make the most of your light?
2. Make sure you’re ready to spend a lot of time outside. Prepare to be out for long amounts of time if you’re filming at night. Getting outstanding night photography images takes time and work, from setting up the tripod and camera to tweaking the camera settings for correct exposure time.
It’s important to remember that changing camera settings might be complicated when your hands are chilly, so bring some hand warmers or gloves with you.
3. Bring a flashlight with you. It may be challenging to see your camera’s manual controls or the tripod screws even in ambient urban light. As you make your journey through the night, a little flashlight is a valuable light source. You may be able to use it to light a portion of your photograph.
4. Set the camera to manual mode. You have complete control over your camera’s settings when you shoot in manual mode. Take your time to get your settings right since nighttime photography necessitates working slowly and carefully.
5. Reduce the size of your aperture. Your camera and lens will determine how low you can go, but you’ll want to get as much light as possible out of your f-stops.
6. Keep the ISO on your camera as low as possible. Working in low light may necessitate a high ISO level, but this could be a mistake. You’ll want to keep your ISO as low as possible because the higher it goes, the more grain becomes an issue. Take a few test pictures at different ISO levels.
7. For lengthy exposures, use a tripod. Long shutter speeds of 10 seconds or more are generally required for nighttime photography to capture as much light as possible from your surroundings. How do you keep a shot focused for 10 seconds or more? A solid tripod will be required for this.
8. Longer exposures can be achieved by shooting in bulb mode. You’ll need to set your DSLR to bulb mode if you’re working with lengthy exposures (more than 30 seconds). This is the ideal setting for light painting and other experimental styles, but you may want to invest in a remote shutter release to keep your camera stable.
9. Make sure you’re shooting in RAW mode. Stick with RAW instead of JPEG because JPEG’s quality loss can ruin your nighttime photographs. You’ll be thankful to be working with unprocessed images if you want to play around with your colors in post-processing.
Read our article to know more tips make camera quality better: How To Make Your Camera Quality Better
Night Photography Ideas
If you take your camera out at night, you’ll find that there are intriguing subjects to photograph almost everywhere you go. Night photography opportunities abound in cities. Here are some examples of things you could photograph:
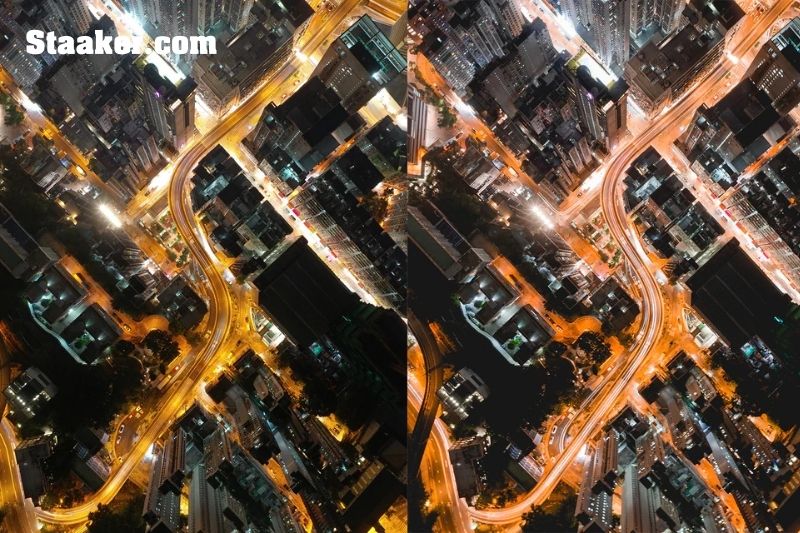
City lights: Cities feature a lot of ambient light, so you’re more likely to get clean photographs, and cars passing by can add a lot of movement to your photos.
Portraits: Take your portrait photography talents to the next level by photographing your subject at night—you’ll be able to capture some incredible, dramatic images. These are fantastic for distinguishing your portrait photography portfolio from the competition.
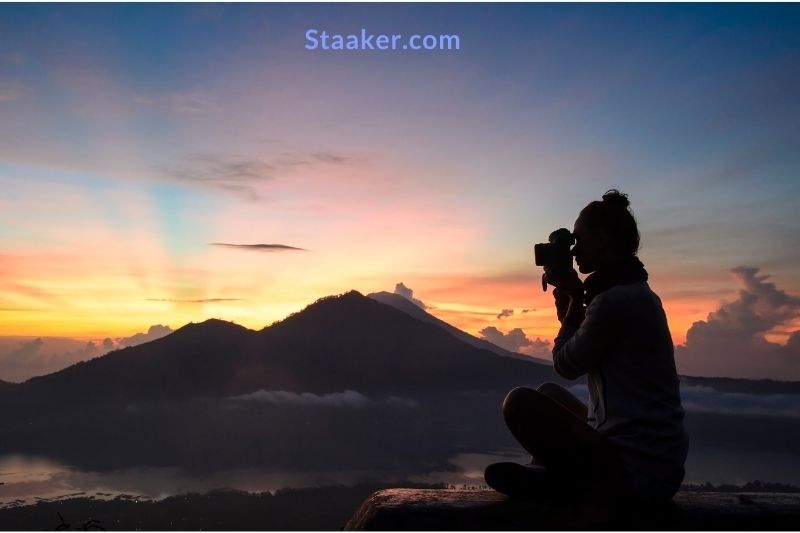
Try these night photography ideas if you’re shooting outside of a city:
Silhouettes in the night sky: Night sky photography is lovely, but why not try capturing anything in the foreground, such as a structure or tree, to make it even more enjoyable?
Landscapes: Add some amazing nighttime landscapes to your landscape photography collection.
See this guide to have some tips to get the best photo: How To Get Into Photography
What is the Best Night Photography Camera?
When selecting the best camera for night photography, the primary features to look for are a high ISO range, a wide dynamic range, and a big sensor. These capabilities are available on a wide range of cameras, so you’re probably covered if you’re shooting with a good DSLR!
Look for a high ISO range camera when buying a camera for night photography because taking images at night involves working with considerably less ambient light than you’re used to. Even an outstanding point-and-shoot camera won’t be able to handle the ISO, which will most likely be set to at least 3200.
A wide dynamic range is essential for night photography; without it, your image would lose information in the shadows. A big sensor will also aid in the capturing of as much light as possible. It’s all about avoiding a cluttered picture! Here are a few great cameras for night photography:
Nikon D750 Full-Frame DSLR: This camera is noise-free at high ISO, making night photography simple.
Canon 5D Mark IV: This camera’s ability to capture excellent detail even in low-light circumstances will result in stunning night shots. This could be your best option if you seek the best camera for night sky photography.
Sony a6500: If you’re looking for something a little smaller, the Sony a6500 offers a maximum ISO of 51200 (albeit photographs can get super-grainy at those high ISOs), making it a fantastic choice for light travelers.
What is the Best Night Photography Lens?
Selecting the best lens for night photography is simple if you know what to look for. The good news is that the most remarkable portrait and landscape lenses will almost certainly work well at night.
The most important thing is to pick a lens that lets in a lot of light (are you noticing a pattern here?). This means that, if at all possible, a lens with an aperture of f/1.4 or at least f/2.8 is the ideal choice.
Because prime lenses offer higher apertures, you’ll probably want to shoot with them. If you’re interested in night sky photography, a lens with a wide focal length will provide sharp photographs, while a lens with a long focal length will make capturing star trails easier.
The Canon EF 50mm f/1.8 and the Nikon AF Nikkor 50mm f/1.8 D are two excellent options.
Conclusion
There you have it – some tips for shooting night photography. With a bit of practice, you will be able to capture stunning images of the night sky in no time. So get out there and start shooting!

