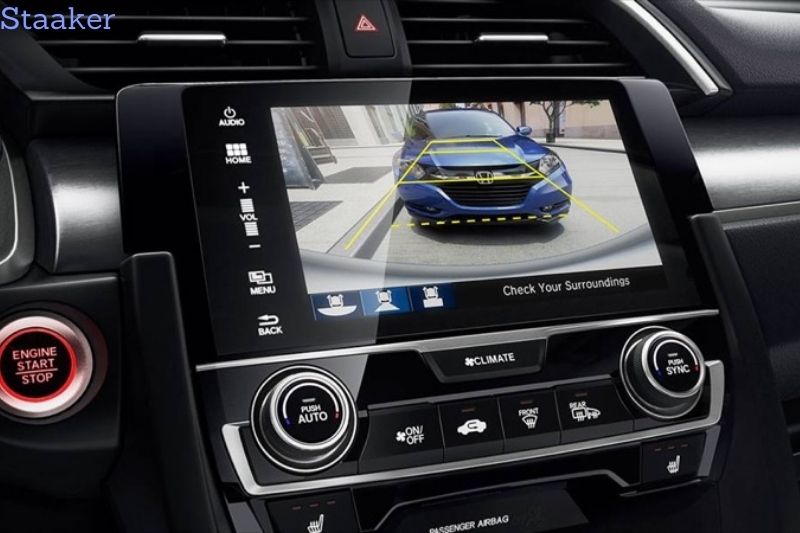
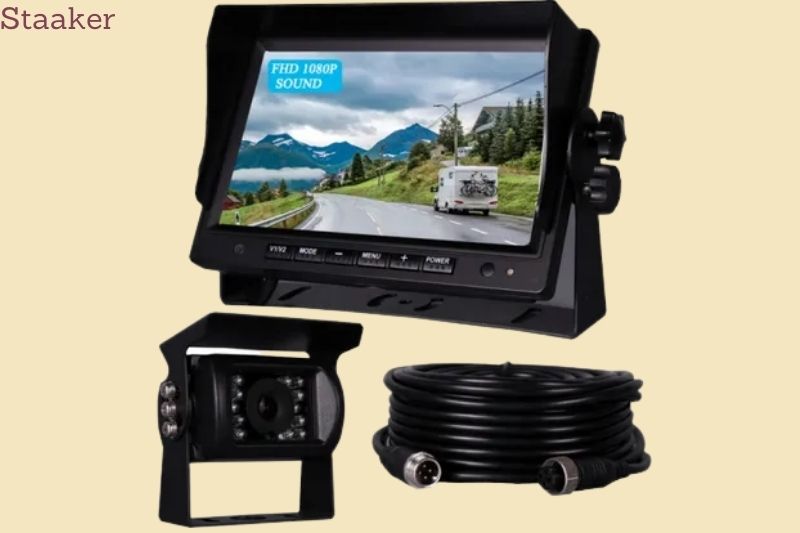
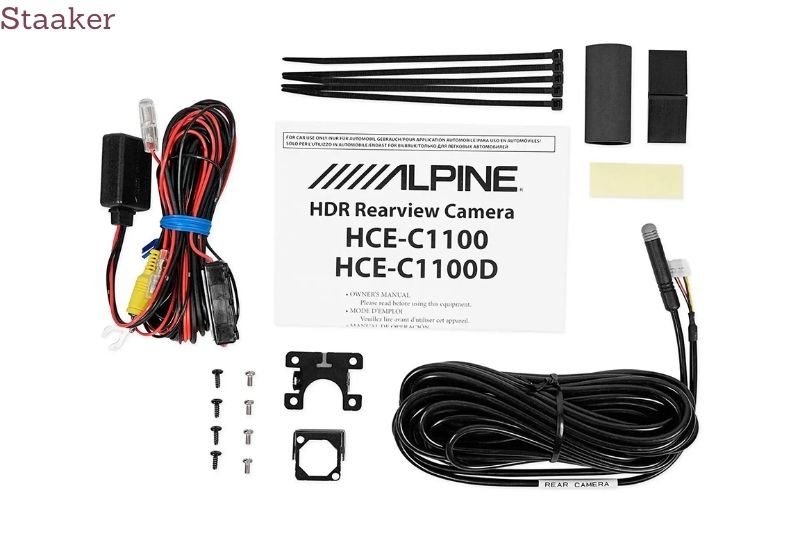
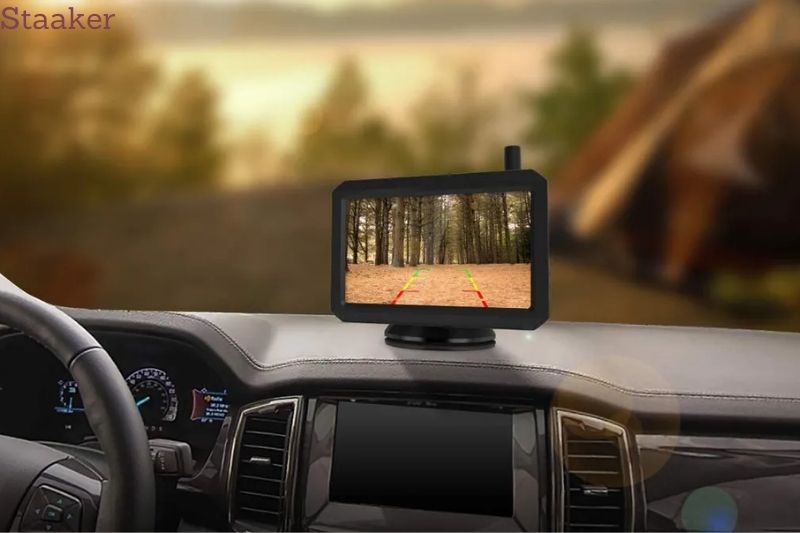
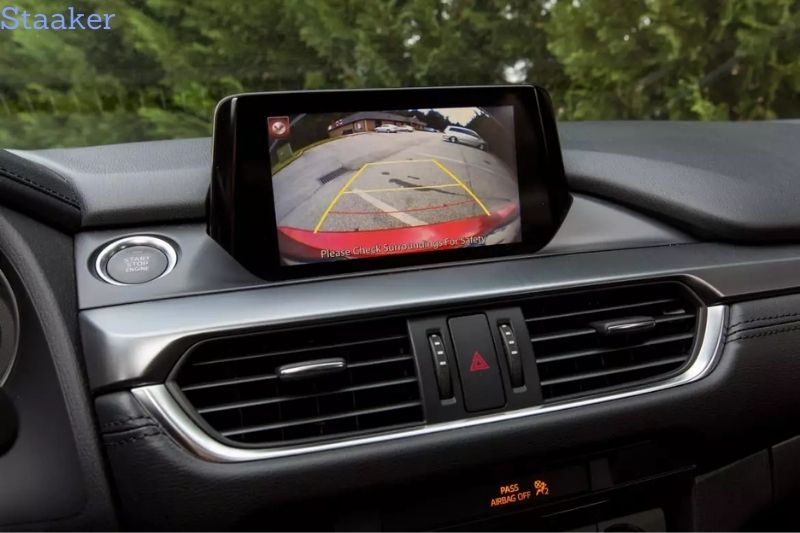
Most new cars come with a backup camera, but you can easily install one yourself if your car doesn’t come with one. Backup cameras are a great safety feature that helps you avoid accidents when backing up. They’re also great for helping you see behind you when you’re parallel parking.
This article will provide a step-by-step guide on how to install backup camera in your vehicle.
Video
Backup Camera Fundamentals
- One hour is estimated to be required.
- Beginner skill level
- Electrical Vehicle System
How Does a Backup Camera Work?
When a manufacturer integrates a backup camera into a vehicle’s systems, it displays a small, live view from behind the car when it is put into reverse. This gives the motorist a better view of what’s behind them and prevents Fido from receiving a deep-tissue massage from your tires.
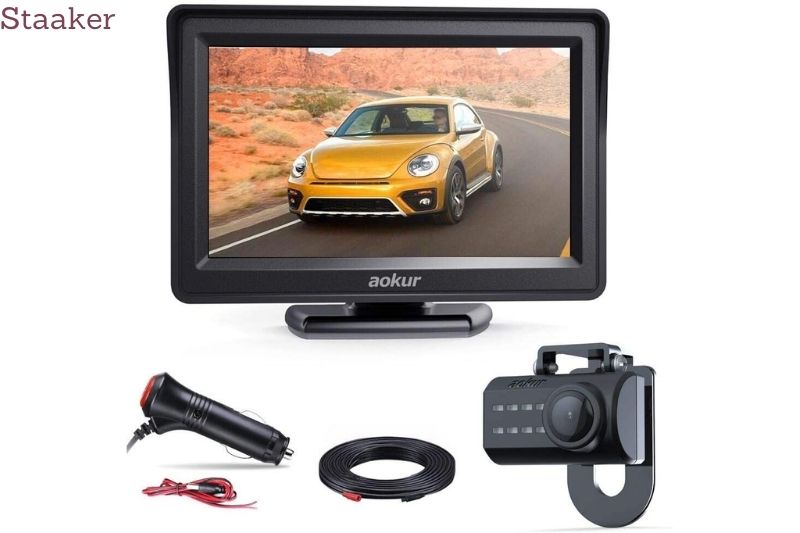
The types of cameras and screens that are regularly utilized are listed below.
A One-Minute Overview of Backup Camera Installations
Every backup camera installation follows a similar pattern:
1) Choose the type of backup camera you want first. You can choose from various backup cameras depending on your backup camera mounting options and rearview camera system power requirements. You can pick between wifi variants and hardwired models with an extra screen (which are more reliable). (We go over the advantages and disadvantages of wired and wireless systems.)
We also have an extensive range of high-quality OEM backup cameras to provide you with the same experience as your present camera. While you’re at it, you can also pick from a choice of more advanced DVRs and integrated safety equipment. Options with a more extensive feature set will cost more, but they could save you thousands in insurance costs. They will also assist in keeping you and your family safe.
2) Next, place an order for your desired backup camera, read the instructions, and prepare your workspace. You’ll want to double-check that you have the correct model for OEM replacements like backup cameras.
In general, regardless of which camera system you use, you’ll need to accomplish the following:
Depending on the format you want to watch the video in, you’ll need to:
- Install your chosen monitor on your dash or in another convenient spot in your taxi.
- Remove your old rearview mirror and replace it with the new one you’ve chosen.
- Remove the essential panels to access your car’s head unit and adequately wire your camera or install your wifi interface module.
Then, depending on your arrangement and monitor, run the wires for power, trigger wire, or video feed to the back of the automobile.
The backup camera must then be mounted and installed in the desired area.
Then you have to pick whether you want to charge your camera with reverse light electricity (which is the most common but gives the least weather resistance) or with a connection in the cab.
3) From there, you should be able to test everything and make sure it’s operating correctly. Before trying your installation, you must ensure the system is fully installed.
Display Types and Cost
If your camera has died, you’re probably wondering how much it will cost to add a backup camera. What will the cost of replacing a backup camera be?
The good news is that with an installation like this, most handy people already have most of the necessary tools on hand, and we include valuable extras like ties and prying tools in our kits.
The cost of backup camera installation is frequently entirely dependent on you! The devices themselves might cost anywhere between:
A primary backup camera costs $100. There are always less expensive alternatives, but they usually have weaker wires and are less weather-resistant than our items.
A universal license plate-style backup camera or Wi-Fi-equipped smartphone backup camera costs between $100 and $200. These backup cameras are classic workhorses that will get the job done.
Depending on your preferences, we also offer a large selection of high-quality:
- Backup Cameras for Ford OEM Fit
- Backup Cameras from GM
- Backup Cameras for Toyota
- Backup Cameras for Dodge and Chrysler RAM
- Backup Cameras for Everyone
- Backup Cameras for Fleets
- Cameras for Agriculture
In terms of time, plan on spending 1 to 4 hours installing your backup camera. The length of time it takes is mainly determined by your previous experience and the complexity of your chosen system. You don’t want to hurry.
Safety of Backup Cameras
Working on your car can be filthy, especially if you’re working with surfaces you haven’t cleaned previously. Electricity traveling at the speed of electricity can stop your metronomic heartbeat, which can be dangerous. So here’s what you’ll need to keep your pants, shirt, and skin immaculate while keeping your bones safe.
- Gloves for mechanics
- Long-sleeved shirt to keep your arms warm.
- Protective Eyewear
Organizing your tools and gear such that everything is conveniently accessible will save you valuable time while you wait for your handy child or four-legged helper to bring you the sandpaper or blowtorch. (A blowtorch isn’t required for this task.) Please don’t hand a blowtorch to your child—Ed.)
A flat workspace, such as a garage floor, driveway, or street parking, is also required. Check your local laws to ensure you’re not breaking any rules when driving on the street because we won’t reimburse any impound fees.
Everything You’ll Need for a Backup Camera Installation
We’re not psychics, and we’re not rummaging through your toolbox or garage, so here’s what you’ll need.
List of Tools
- screwdriver, flathead
- Screwdriver, Phillips
- Panel/trim removal tools
- Strippers for wires
- Drill (cordless)
- drill bit 3/32 to 18
- Multimeter for automobiles
- Posi-Taps and other wire connectors
- telecommunications tape
- Zip ties
- A friend
List of Parts
- Backup camera
- Cluster of wires
- Monitor or multimedia player (if necessary)
- grommet in rubber
How to Install a Backup Camera
Let’s get started!
Setting Up the Camera
- Ensure that the car is turned off.
- Disconnect the vehicle’s battery terminals safely.
- If necessary, remove the license plate.
- Position the camera on the car at the desired location.
- Mark the location where the camera’s cord meets the vehicle with a marker.
- Depending on the type of car and where the camera will be installed, you may need to remove an interior panel from the internal area of the door, hatch, or tailgate. This may not be essential on a bumper.
- When drilling a hole in the car’s exterior, make sure there are no wires, cables, or trim pieces that could be destroyed.
- Determine which drill bit will bore a large enough hole to fit the wire and rubber grommet on the camera. A quick visual inspection is generally sufficient.
- Drill a hole where you marked with the selected drill bit.
- Insert a rubber grommet into the hole to disguise the rough metal edges and protect the wire.
- Through the hole, run the camera wiring.
- Connect the camera to the car using either the included hardware or the hardware you purchased separately.
Begin Wiring Installation
- Connect the camera wire to the given wire cluster. A video cable, a power wire, and perhaps a reverse signal wire will emerge from this.
- Look for the current factory wiring loom and try to link and route the wiring adjacent to it for the cleanest look.
- Determine the camera’s power source, which is most likely reverse or a license plate light.
- Using a multimeter, locate the positive and negative wires from the light source.
- The positive camera wire should be connected to the positive light wire, and the negative camera wire should be connected to the negative light wire. A splice or a Posi-Tap connector can be used for this.
Splicing a Wire
- You’ll have to solder your wires together if Posi-Taps aren’t accessible. A military splice is recommended since it does not require soldering.
- Hold the positive light wire with a wire stripper and remove a portion of the plastic coating to reveal the copper.
- Cut the exposed copper part in half.
- Through the hole between the copper wiring, feed the positive camera wire.
- Wrap and twist the positive camera wire around the light wire to make a secure connection.
- Secure and secure the connection by shrinkwrapping or taping it.
- Carry on with the negative wire.
Reverse Signal Wire
A signal to tell the system that the automobile is in reverse is required for the display to show the video stream. The infotainment device may have automated signal detecting, which identifies the existence of an incoming video signal in some instances. If this is the case, go to the next step.
- While the automobile is in reverse, find a signal source—any wire that holds a positive 12 volts—with the help of a friend. Although some aftermarket stereo wiring harnesses have a connector, people frequently use the reverse light wire.
- Use a splice to connect to the signal source (repeat the steps above).
- Prepare for routing by connecting the signal and video wires.
Routing the Wiring
Determine whether you want to track the wire under the vehicle’s floor or through the headliner, depending on the type of vehicle.
Remove or partially detach any trim pieces, carpeting, headliner, or door rubber to run the wire discreetly.
Run the two wires to the front of the vehicle, tucking them out of sight.
Replace the trim pieces you took out.
Connecting the Display
It’s time to connect the monitor to power, video, and the signal cable once installed in the dashboard, on top of it, or in the rearview mirror.
A spliced-on adapter can sometimes connect the monitor power wire directly to the fuse box.
- Determine an acceptable location for the power cable using a multimeter.
- The battery may be drained if the fuse does not switch off when the ignition is turned off.
In some circumstances, the power wire can also be connected to an existing sound device.
- To get to the stereo wire, remove the trim piece.
- Locate the stereo’s power cords.
- Positive to positive and negative to negative are connected.
- The reverse signal wire should be connected to the reverse trigger wire.
- Attach the video cable.
- Replace the trim pieces you took out.
Wrapping Up
- Reconnect the battery terminals safely.
- Start the engine.
- Put the car in reverse to see if the monitor switches or turns on and displays the rear video stream.
- Turn off the car if it works. If not, go back through the stages and double-check your work.
- Use electrical tape, zip ties, and velcro to tidy up any extra wiring.
- If necessary, reinstall the stereo head unit.
- Replace any internal parts, panels, or covers that have been removed.
Congratulations, your vehicle has become safer and more modern.
Pro Tips to Install a Backup Camera
Here is some expert installation advice from The Drive.
It’s vital to be prepared with tools to make the procedure easier while pulling difficult coiled wire throughout an automobile. Use a wire feeder or puller to get those wires through tight locations.
How Often Should a Backup Camera Be Installed?
We want to say this is a one-time installation, but only fools believe electronics are indestructible. You’ll want to update to a more excellent camera with a clearer picture in the future, even if it works for ten years.
Life Tips
We also produced a list of our top hacks to make your life easier and drain your wallet less because you may not have access to the necessary tools or have a friend you can borrow a wrench from.
If you are looking for installing blink camera tutorial, see this guide: How To Set Up Blink Camera
FAQs
What’s the best place to put a backup camera?
These cameras should be installed relatively high on the vehicle for optimal viewing angles. Larger cars will benefit from this mount, such as SUVs, Jeeps, and hatchbacks. The camera should be installed at the top of the hatch for larger vehicles like these.
What voltage does a backup camera require?
When a reverse camera is attached to a video interface, it is activated by a CAN bus or the +12 V from the reversing light lamps. It is dependent on the vehicle. As a result, when you connect a video interface, you should go to the Factory menu and change the activation method (CAN bus or Rear wire).
What’s wrong with my reverse camera?
Dirt on the camera’s lens is most likely to blame, as reverse cameras are close to the ground and can quickly come into touch with dust, rainfall, or mud. If the camera feed appears normal, with no lag or signal issues, but it isn’t easy to view, cleaning the lens is probably all you need.
Conclusion
If you’ve followed the steps in this article, you should have a backup camera installed in your car in no time. Keep in mind that installation is a bit tricky. So, be sure to consult a qualified technician if you have any questions or problems. Staaker.com hopes this guide was helpful.


